Installing a ceiling fan can be a practical and stylish addition to any room, but understanding the wiring colors involved is crucial for a safe and successful installation. In this comprehensive guide, we’ll delve into the various ceiling fan wiring colors, what they signify, and how to correctly wire a ceiling fan for optimal performance.
Decoding Ceiling Fan Wiring Colors
When it comes to ceiling fan wiring, different colors indicate different functions. Here’s a breakdown of the most common wiring colors and their meanings:
- Black: The black wire is typically the hot wire, carrying electricity from the power source to the fan. It is essential to connect the black wire from the fan to the corresponding black wire in the electrical box or ceiling fixture.
- White: The white wire is the neutral wire, providing a return path for the electrical current back to the power source. It’s crucial to connect the white wire from the fan to the white wire in the electrical box or ceiling fixture.
- Blue: The blue wire is often used to control the fan’s light kit or other accessory functions, such as a dimmer switch or remote control. If your ceiling fan has a light kit, you’ll need to connect the blue wire from the fan to the corresponding blue or black wire in the ceiling fixture.
- Green or Bare Copper: The green or bare copper wire is the ground wire, which serves as a safety mechanism to prevent electrical shock. It’s essential to connect the green or bare copper wire from the fan to the grounding wire in the electrical box or ceiling fixture.
Ceiling Fan Wiring Color Codes
While the above colors are the most common, it’s essential to note that variations may exist depending on the manufacturer and model of the ceiling fan. Always refer to the manufacturer’s instructions and wiring diagram for specific guidance on wiring colors and configurations.
Wiring a Ceiling Fan: Step-by-Step Guide
Now that we’ve covered the basics of ceiling fan wiring colors, let’s walk through the steps to wire a ceiling fan correctly:
- Turn Off Power: Before beginning any electrical work, always turn off power to the circuit at the breaker box to prevent the risk of electrical shock.
- Assemble the Fan: Follow the manufacturer’s instructions to assemble the ceiling fan, including attaching the fan blades, light kit (if applicable), and mounting bracket.
- Mount the Fan: Securely mount the fan bracket to the electrical box in the ceiling, ensuring that it is properly anchored and aligned.
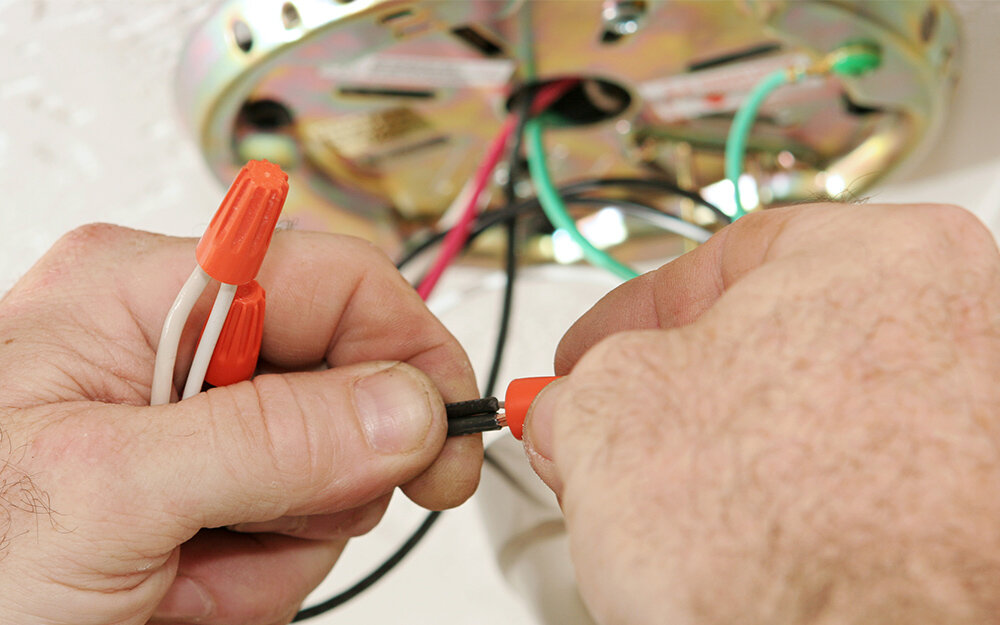
- Connect Wires: Carefully thread the fan wires through the canopy and downrod, then connect the corresponding wires from the fan to the wires in the electrical box or ceiling fixture.
- Remember to match black to black, white to white, blue to blue (if applicable), and green or bare copper to the grounding wire.
- Secure Connections: After connecting the wires, secure the wire connections with wire nuts and electrical tape to ensure a safe and secure connection.
- Install Blades and Light Kit: Once the wiring is complete, attach the fan blades and light kit (if included) according to the manufacturer’s instructions.
- Test the Fan: Turn the power back on at the breaker box and test the fan to ensure that it is operating correctly. Verify that the fan blades are turning smoothly and that the light kit (if applicable) is functioning as expected.
Conclusion
Understanding ceiling fan wiring colors is essential for a safe and successful installation. By familiarizing yourself with the meanings of different wiring colors and following a step-by-step installation guide, you can wire your ceiling fan with confidence and enjoy enhanced comfort and functionality in your space. Whether you’re replacing an old fan or installing a new one, proper wiring ensures optimal performance and peace of mind for years to come.
